Introduction
A WebServer Service allows remote users to access projects in the local computer for engineering project configuration or to request the start of its execution. This service is automatically configured by the product installation.
This feature allows creating and editing a project on a remote server. The client machine will access all information on the server machine, such as files, new projects, and more.
Check WebServer Service Configuration for information about requirements and how to set project server to edit a project remotely.
Project Server
The Project Server documentation contains information about how to set a project server.
WebServer Service Configuration
Requirements
The server and the client computers must have the software platform installed and licensed.
On the server side
1. The first step to prepare the server computer for remote connections from clients is having a WebServer running.
A WebServer is an interface application used to manage the connection between computers in a network. The TWebServer is our software platform connection assistant. So, to connect other computers in the same network with the project server, you need the TWebServer connection assistant or a similar, such as the Microsoft WebServer (ISS - Internet Information Services).
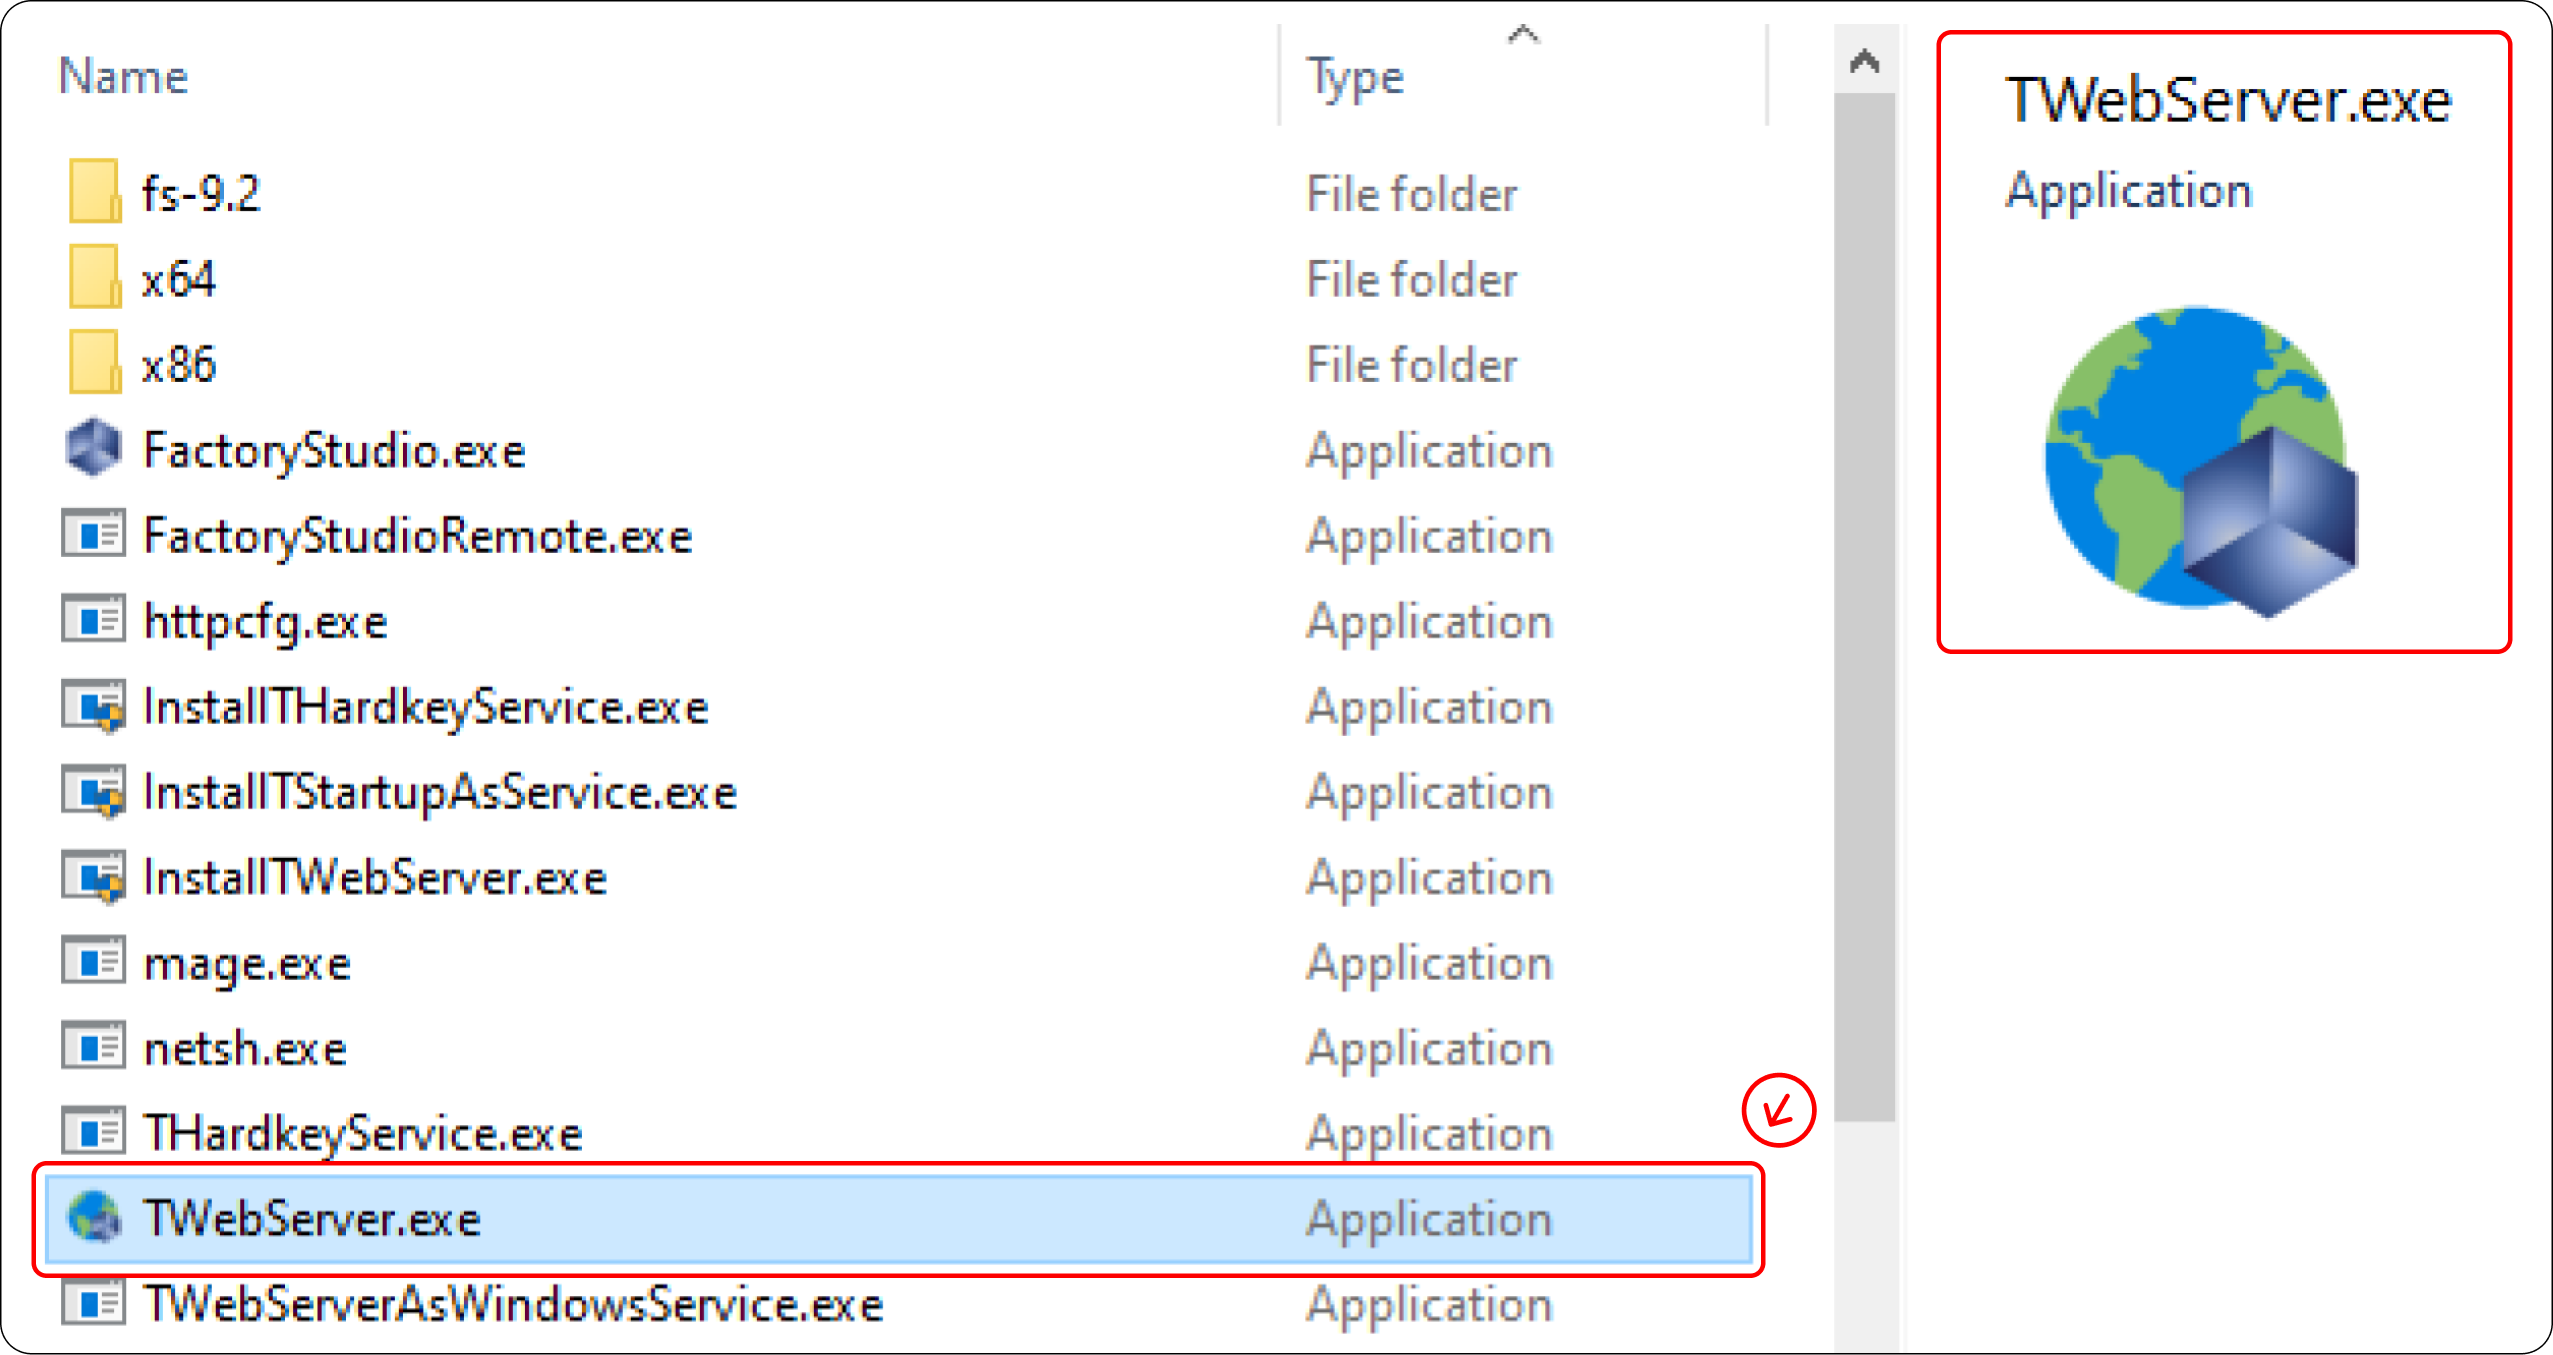
2. To run TWebServer, you must access the software platform installation folder and open the TWebServer.exe file.
3. To check if the TWebServer is running:
3.1. You can open the Windows system tray, next to the Windows clock, and look for the TWebServer icon — the same icon as the image above. Mouse over the icon, and a message similar to "TWebServer is running...(Port: <Port>)" will appear. The image case below shows "(Port: 80)", meaning port 80 (default) was used for the WebServer. Although, if another program uses that port, it will probably show "Port: 3100".

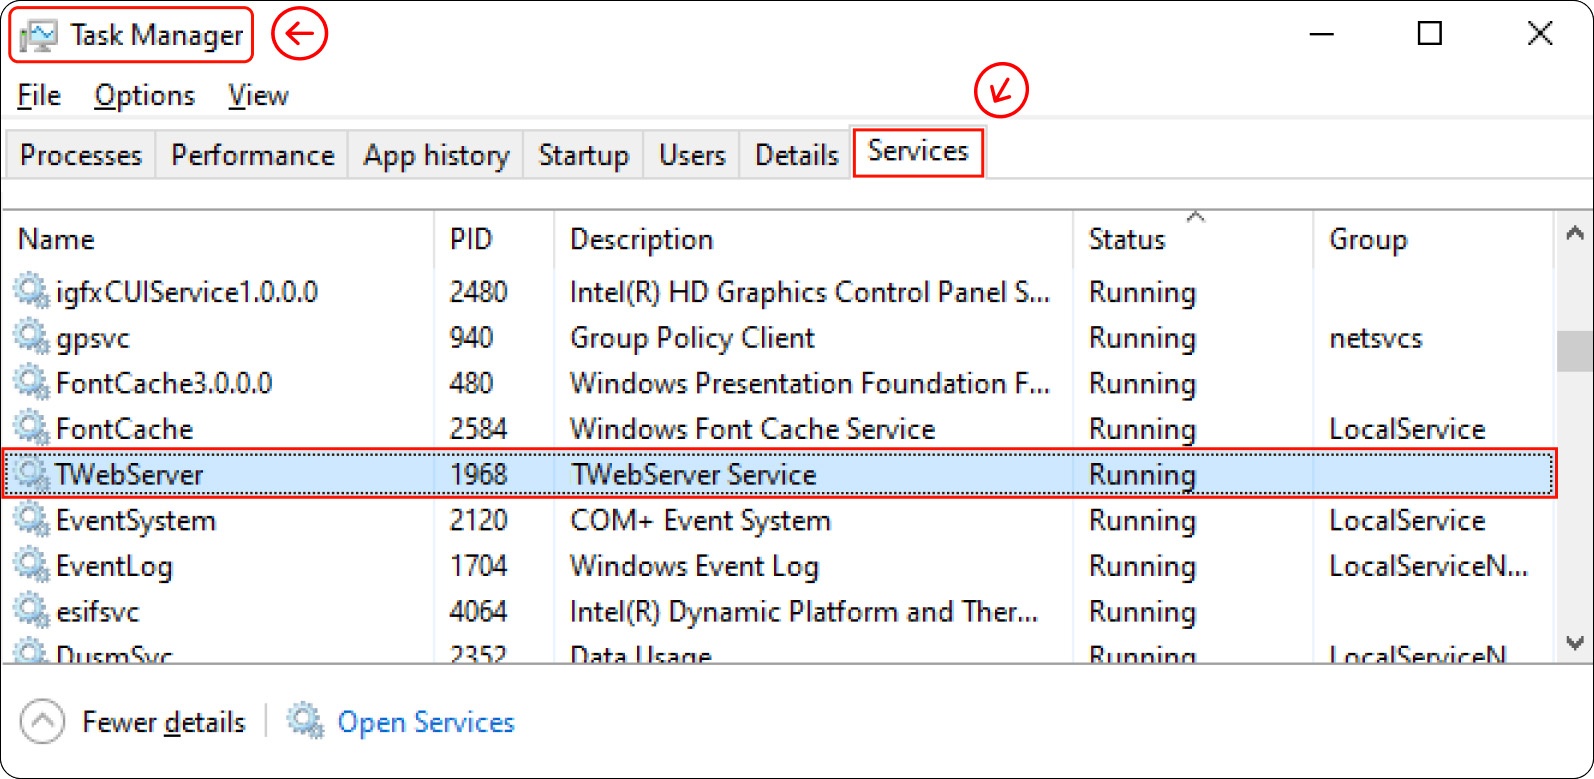
3.2. You can also go to the Task Manager and look for the "TWebServer" service in the Services tab.
TWebServer Service Name
The TWebServer service may be named after a company's name. E.g.: YourCompanysNameTWebServer
4. Go to the Project Server interface, and click Update... to refresh the network information. <<<<alterar imagens>>>>

395px
5. Done! You have the IP and Port to be used on the client-side. Keep this information.

6. So, let us look at the project selector display on the computer where the WebServer Service was set up.

7. Finally, on the server side, open any project to view its information.

The 'From' field indicates where the project is running. In the image above, you can see it running on the local computer.
At the end of the next section, you will see how this field will be filled when the project is accessed from the client side.
On the client side
1. On the client side, the first step is to open the software. Go to the Project Server interface and select Project Server. <<<<alterar imagens>>>>

You can see that the information on the client side is slightly different, for example, the local computer IP address. Still, others are similar, such as the port number and the information on the left bottom corner of the server selector display that indicates where the current WebServer Service is running. But you will see these pieces of information change during the client-side configuration. So hands-on!

2. You must change the IP and Port to the same as in the Server data. Then, click Connect.

3. A status message will show that the "Remote service connected", just like in the image below:

If the connection fails, a message similar to "Service not found, error: <error information>" will appear.

If this happens, check the internet connection on the local and server computers.
4. You can go to the Project Selector display and see in the indicated arrow where the project is running.

These projects in the image above are running on the project server computer configured in the previous section.
5. You can also see where the created project is running. Open a project and go to the Version tab at Info, as shown in the image below:

Now, you can create and edit a project on another computer, and all the changes you make are saved on the server computer.
In this section...